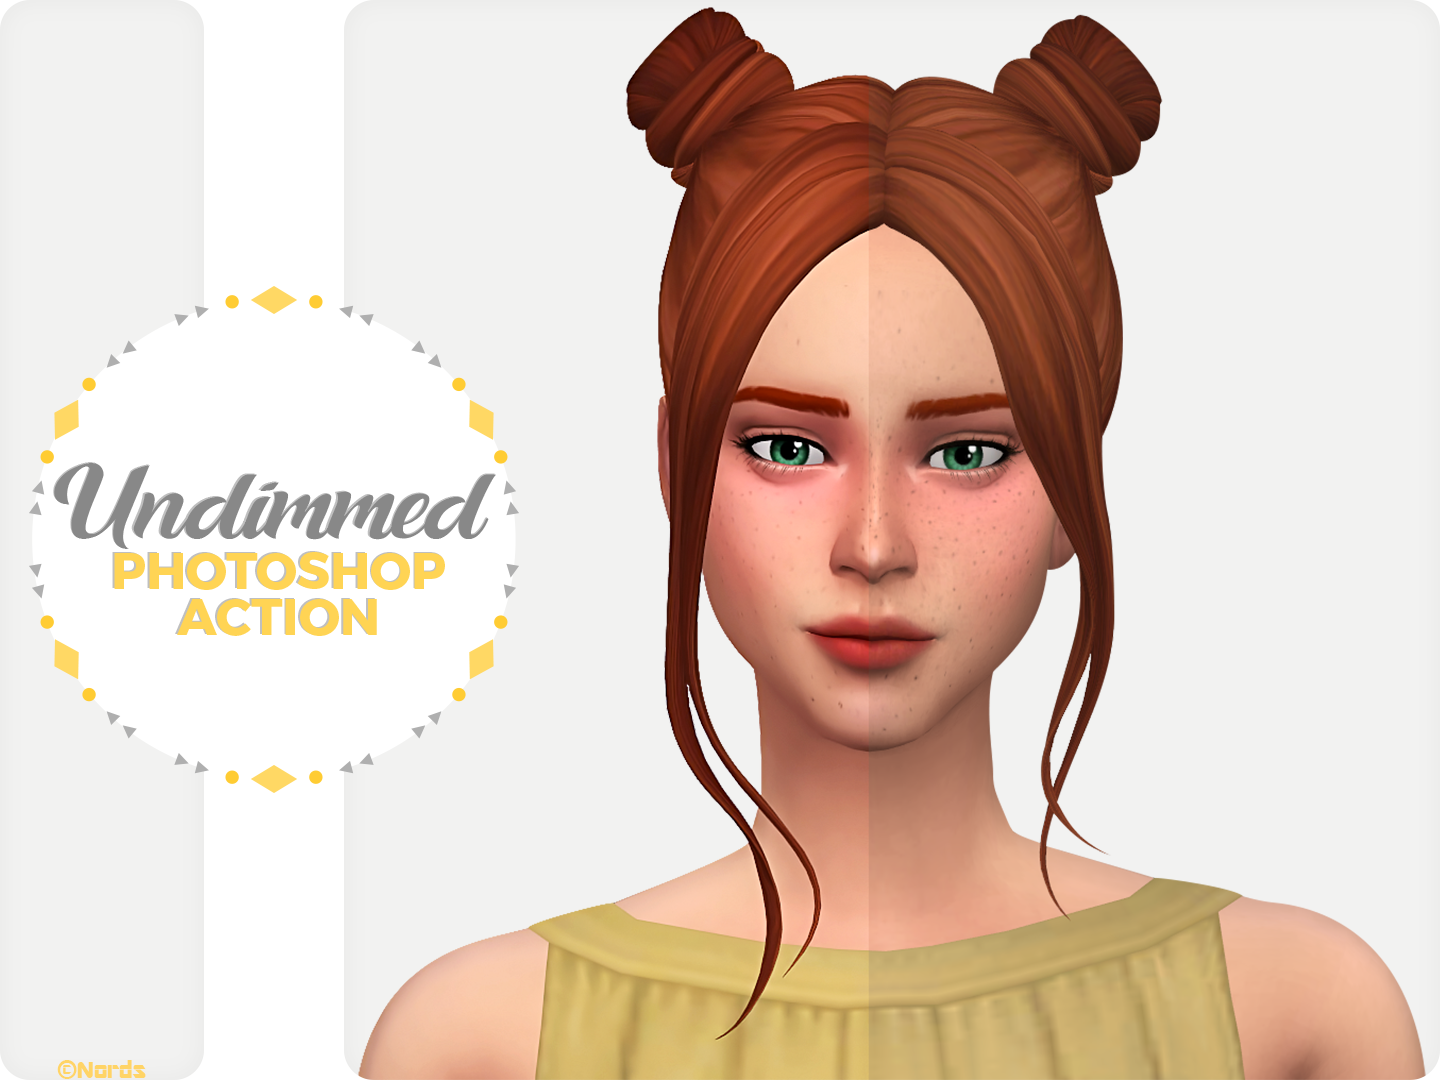
Hey pals, what's up? I hope you're doing great. Today I'm sharing with you a Photoshop Action I use when editing my Sims 4 CAS screenshots. This is the first Photoshop Action I upload (except for my Palettes) therefore I am very excited (and a little nervous).
CAS:
Use the slider to see the changes.
With just one click, this action gets rid of EA's greenish tone, and gives your screenshots a bright, vibrant, and sharp yet smooth effect. Indeed you get to light up and tone your sims with more vibrant colors and bring them rich tones but not too much.
I don't know, but I think it gives a lively and more realistic effect. It basically comes in 4 steps, it sharpens, smooths, adjusts the colors, and then it sharpens again.
I made it to use it on CAS screenshots and it works best with them, but I think it looks pretty decent on In-game ones. But I leave it to you to judge for yourselves.
In-game by day:
Use the slider to spot the changes.
In-game by night:
Use the slider to spot the changes.
Tools used:
- Adobe Photoshop CC 2015.
- Topaz Clean.
- Topaz Denoise.
You need:
- Adobe Photoshop.
- Topaz Clean (but not necessarily)*.
- Topaz Denoize (but not necessarily)*.
How to install and use
- Download the .atn file.
- Open Photoshop, go to Actions Panel (which you can find by clicking on the Window menu or by pressing Alt+F9).
- Click the drop menu and select "Load Actions".
- Select the .atn file and load it.
- Some filters (sharpen for example) only affect one layer so if you have multiple layers I recommend you merge the visible one by pressing Shift+Ctrl+Alt+E.
- Make the layer you want to apply the action to active.
- Play the action you want.
That's it folks, I hope you like it.
Peace, Nords xoxo
Credit
- EA Games/Maxis.
- Freepik for the label.
Special Thanks
- The CC creators whose CC I used in the previews.
- The lovely people who'd Buy Me a Hot Chocolate.

